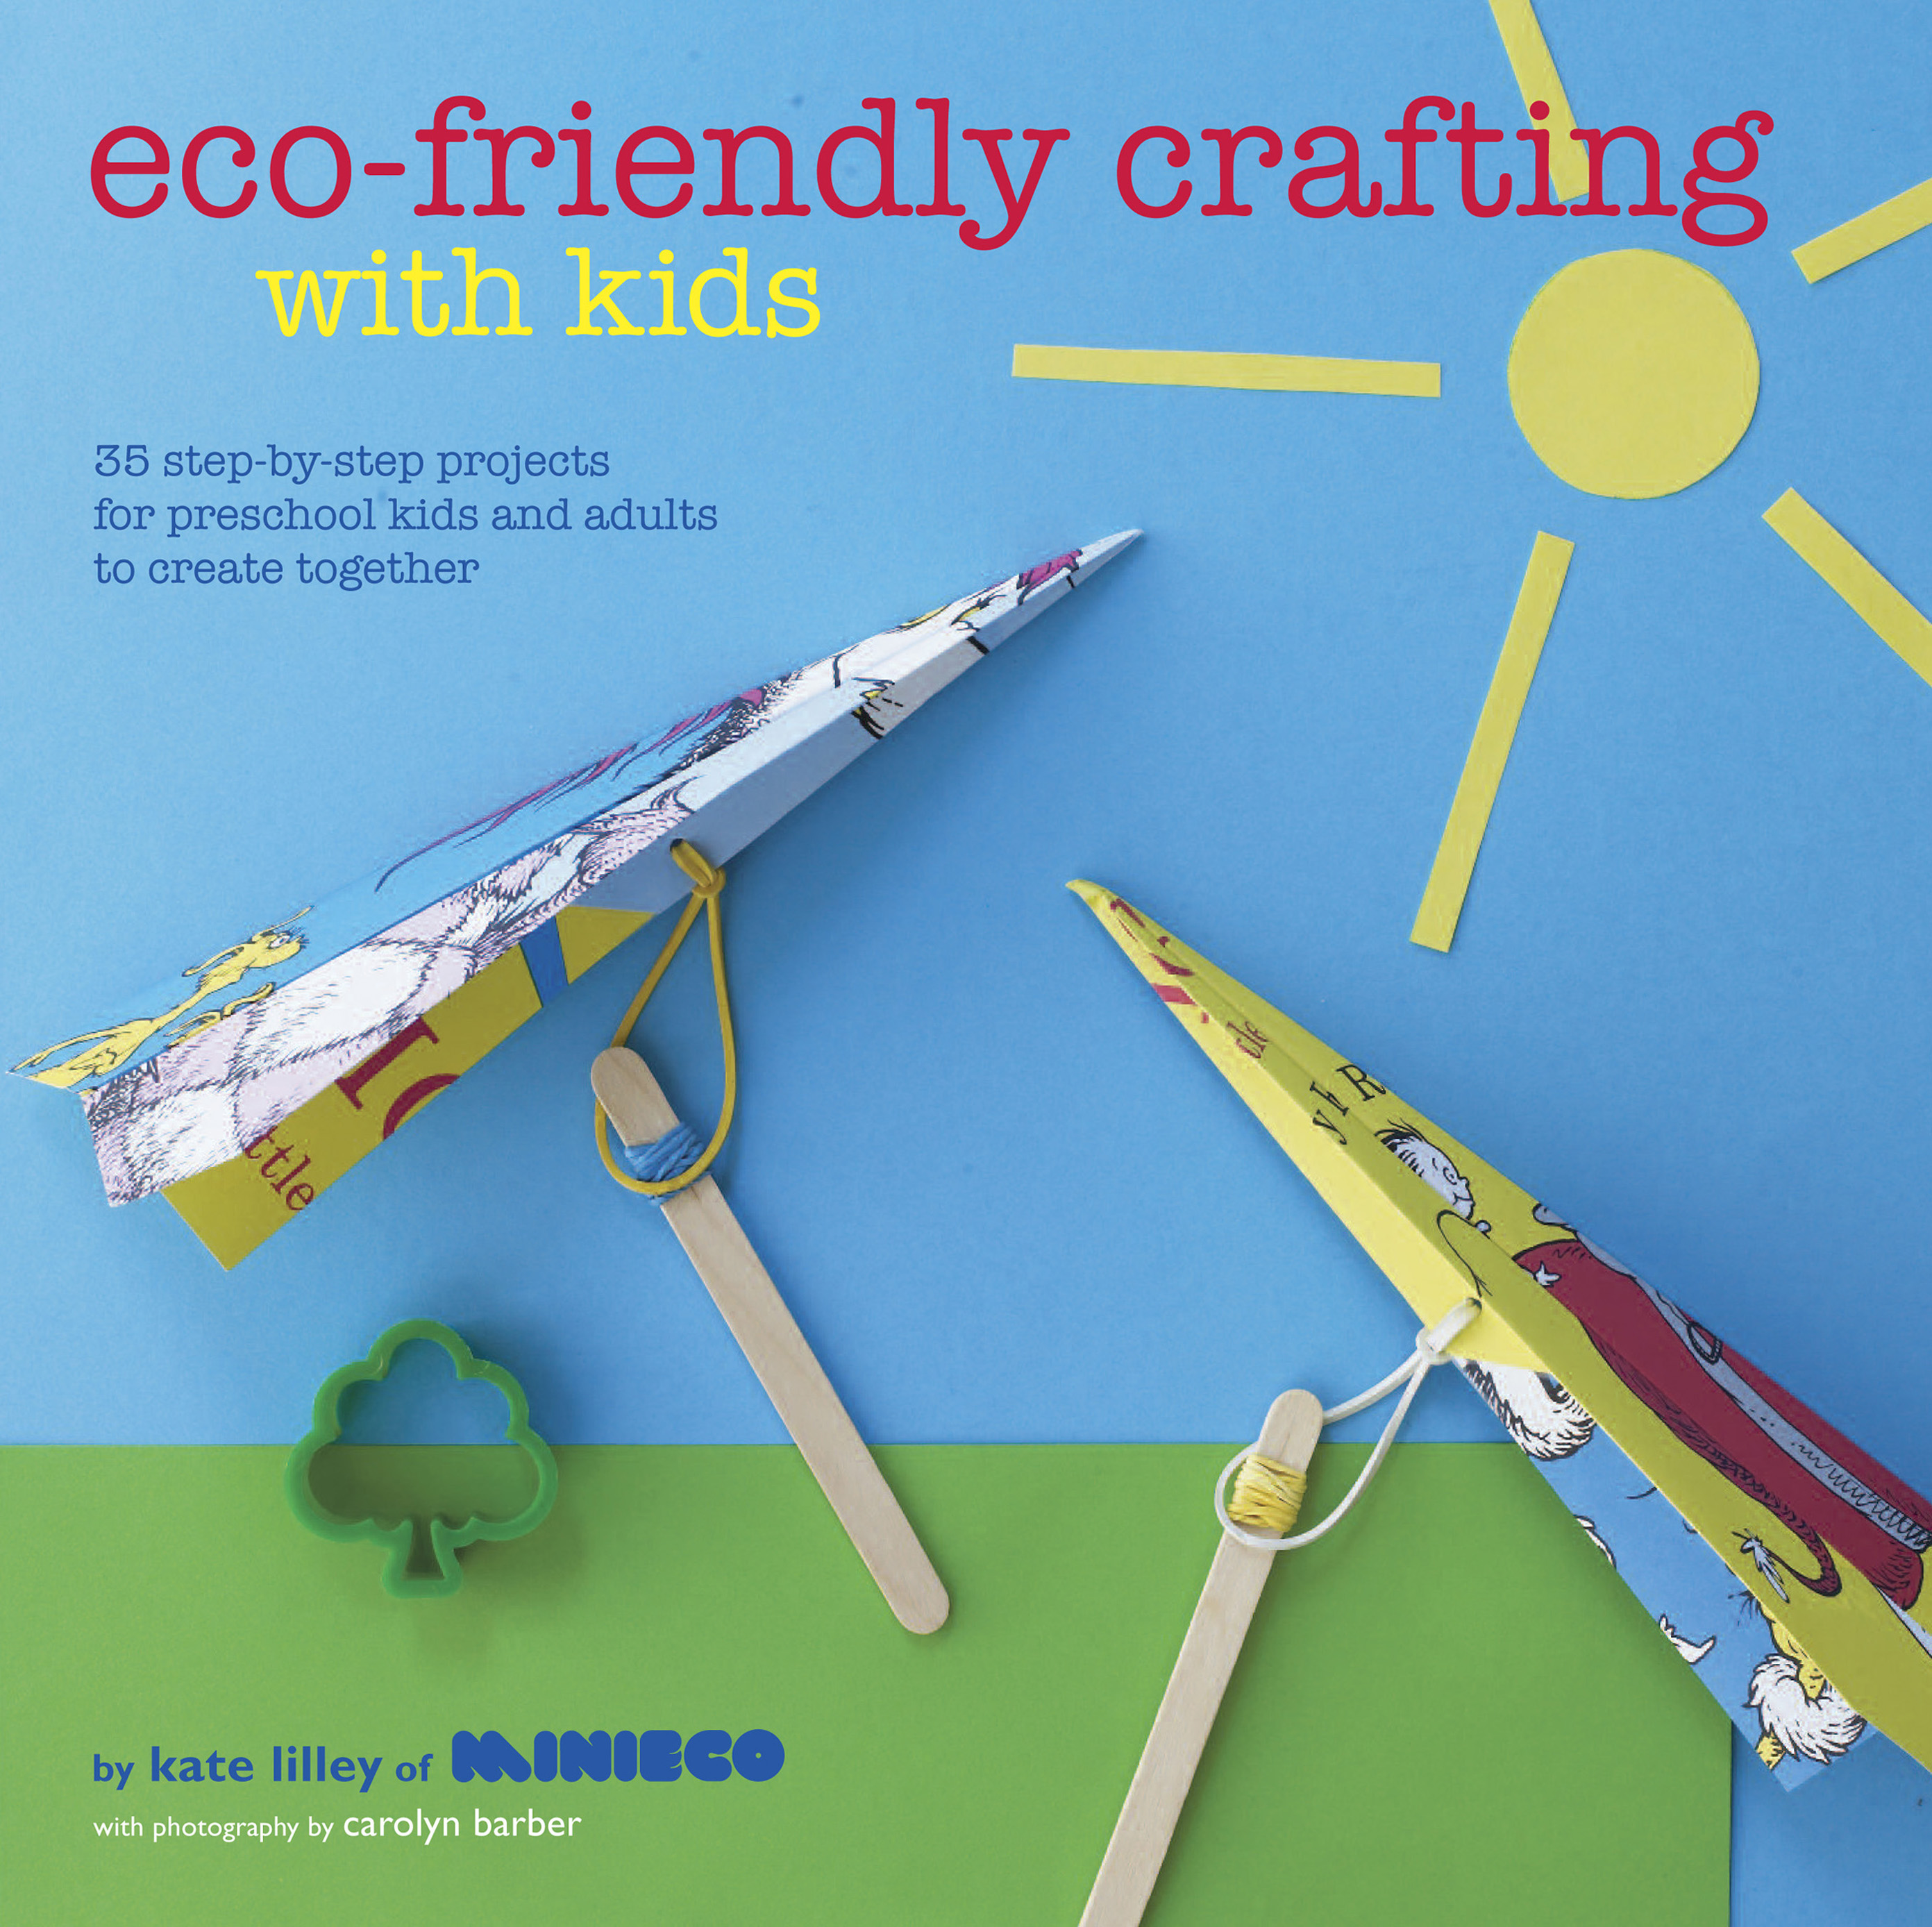
Learn how to make your own chalk with this crafts project from the book eco-friendly crafting with kids.

When Little M and I are feeling especially creative and in the mood to be artsy, one of the first places we look for inspiration is Kate Lilley’s fabulous crafts blog, minieco. The projects are innovative and eco-friendly, the pictures are gorgeous, and the materials are, for the most part, inexpensive and easy to find. I’ve written about some of the projects we have found on minieco before, like these fun shadow puppets.
Imagine my delight when I found out that Kate had recently published a book – Little M and I got our hands on a copy as soon as we could! The 35 projects in eco-friendly crafting with kids are ideal for kids and adults to create together, and include everything from music, nature, paper and card, sewing and threading, science and boredom busters. Little M and I have already earmarked many that we want to try, like making our own watercolor paints, building a rainstick, making boats out of walnut shells (so cute) and crafting catapult planes! I love that the book walks us through the steps in great detail and with lots of pictures – the projects are easy to follow and there is less chance of making mistakes along the way!
Kate was kind enough to share her incredible Homemade Chalk project from eco-friendly crafting with kids. Read below for details and pick up your copy of the book here.
Homemade Chalk
Making your own chalk is really easy and lots of fun, and the end result provides you with a brilliant excuse to get outside and be creative – hurray!
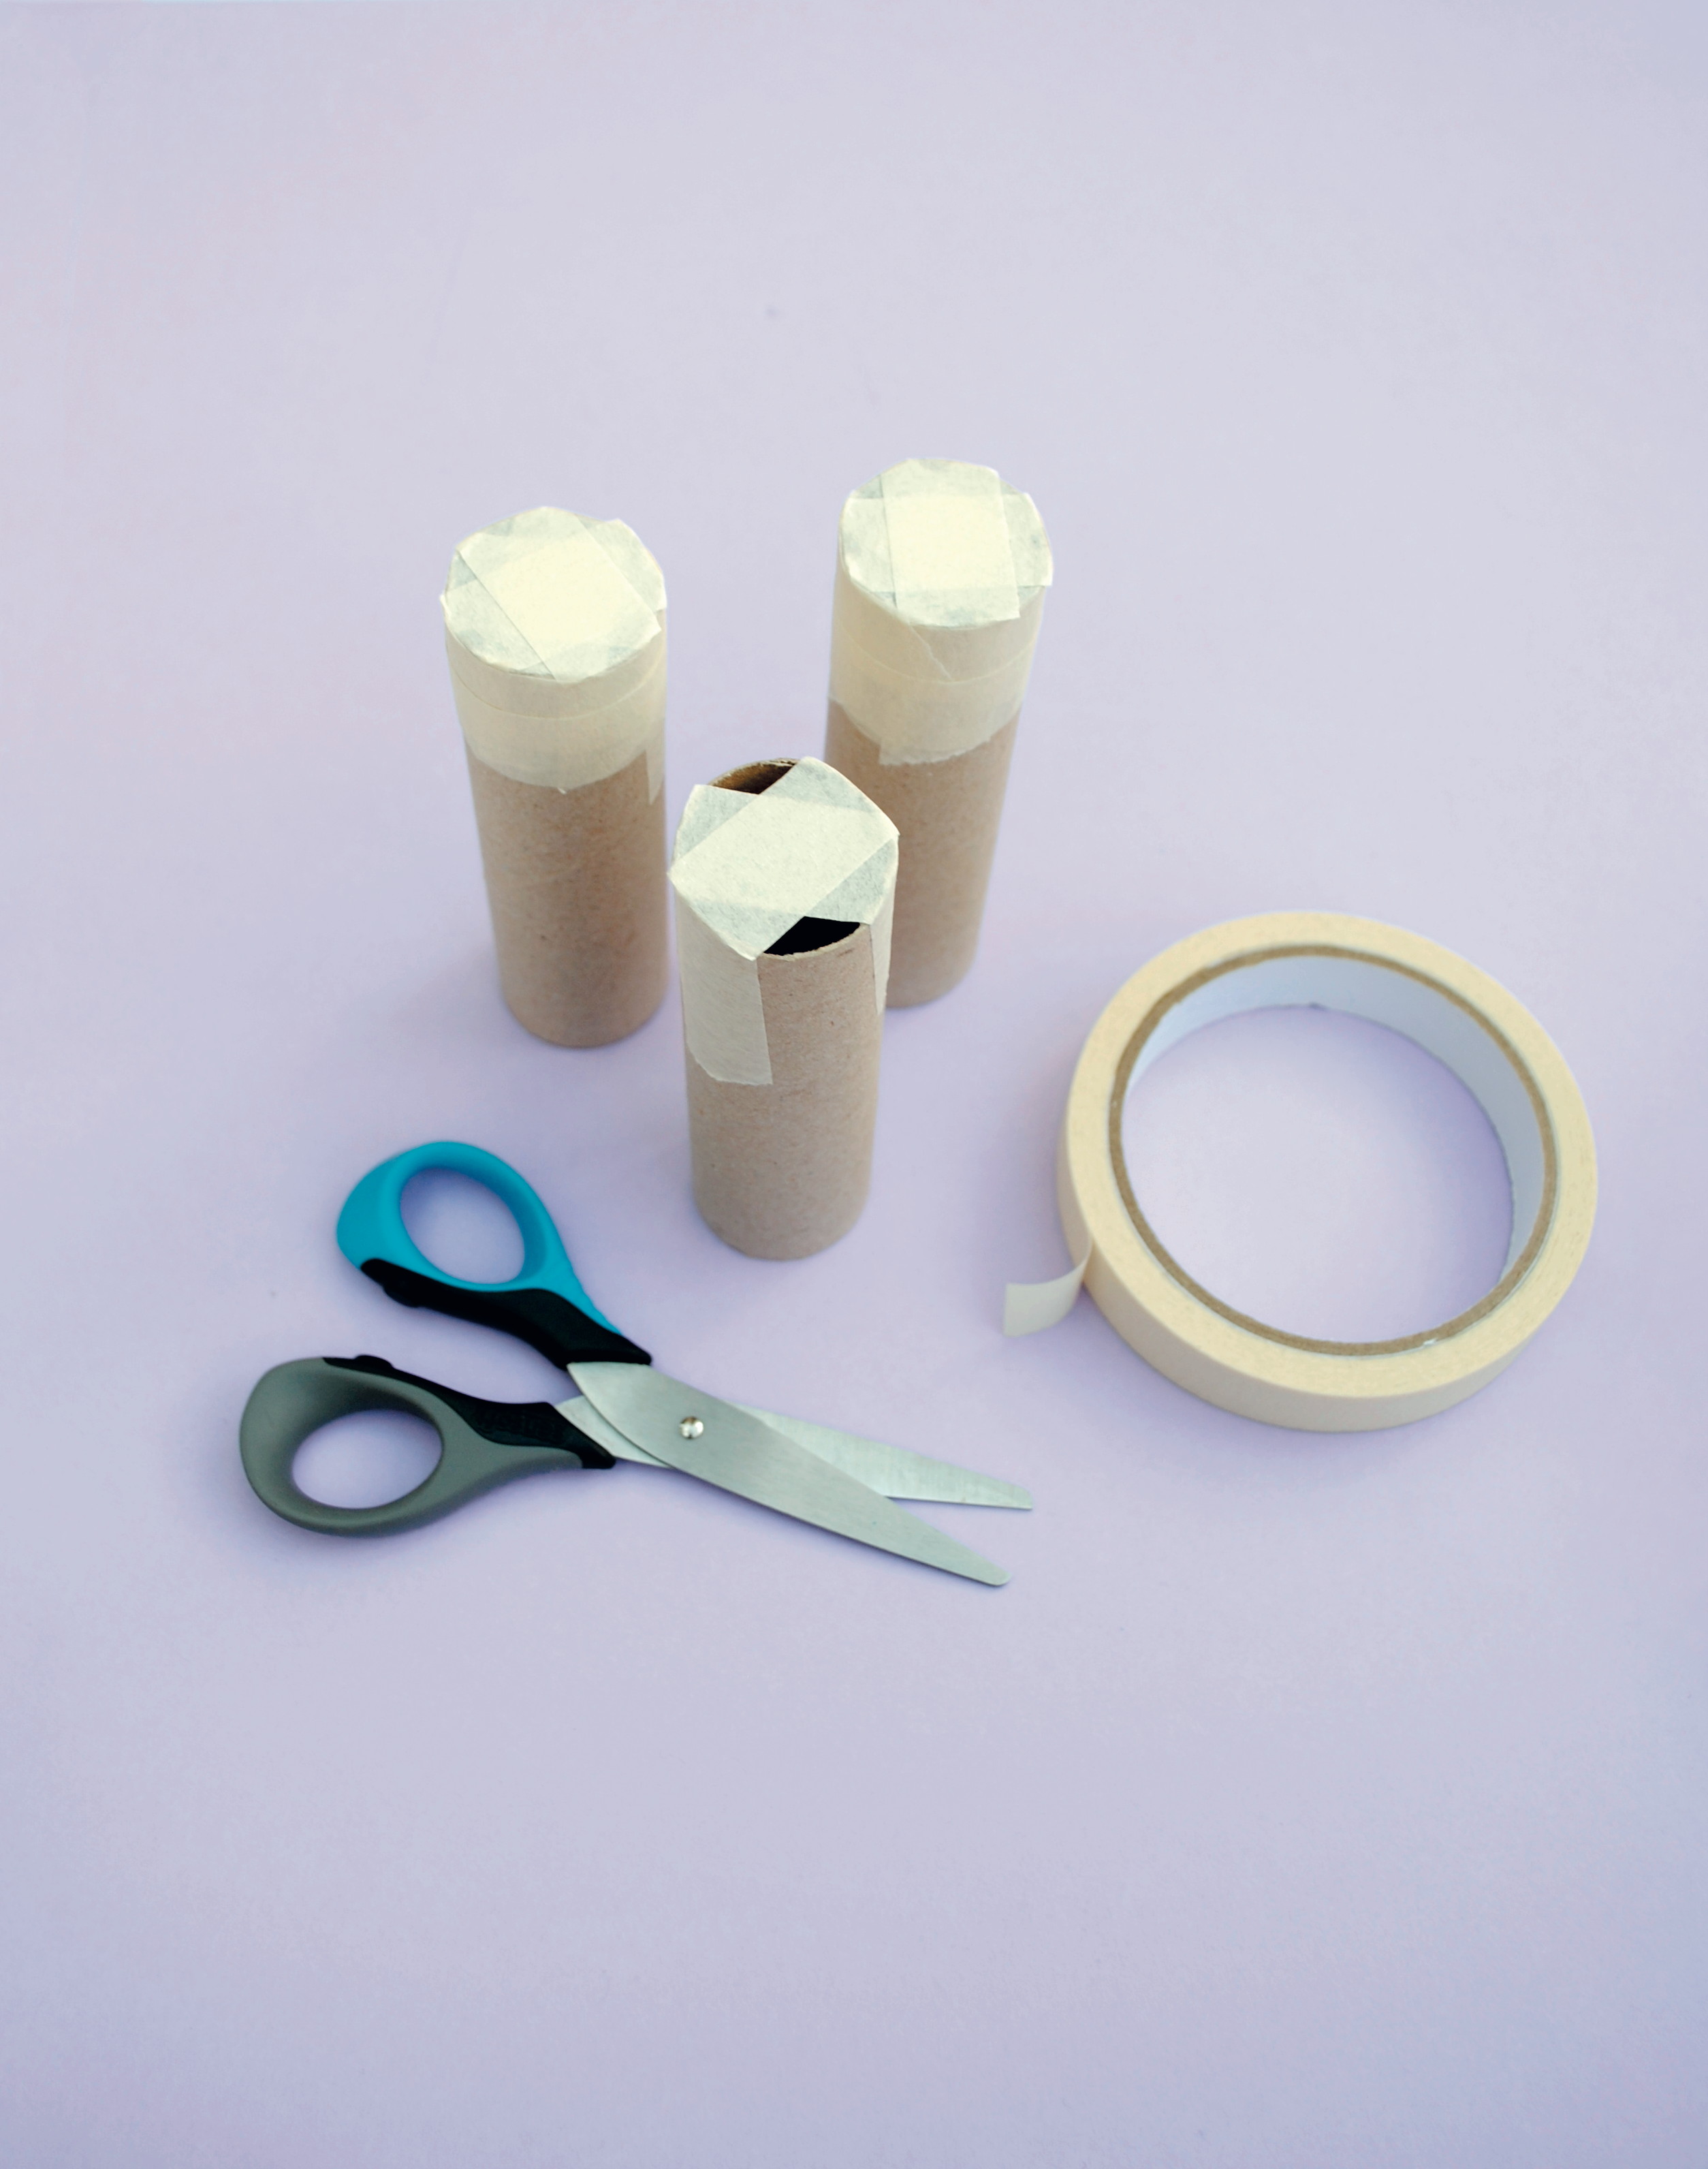
Materials:
- Toilet rolls/cardboard tubes
- Masking tape
- Greaseproof/wax paper
- Scissors
- Old plastic container
- 1 cup of water
- 1 cup of plaster of Paris
- 1 tbsp powdered tempera paint
- Stick (for stirring)
How-to:
- Tape up one end of each cardboard tube with masking tape making sure that it is sealed.

- Line the inside of the tube with a piece of greaseproof paper. Stand each tube, taped side down, on a level surface. Make sure you stand them on a piece of kitchen paper in case you get any leaks.

- Pour the water into a plastic container then sprinkle the plaster of Paris on top (generally it’s a 1:1 ratio, but check the instructions on the packet).

- Add one heaped teaspoon of powdered paint to the mixture and give it a really good stir. If you want a deeper color, add more paint.

- Pour the mixture in to the tube and tap lightly to get rid of any air bubbles.

- When the plaster has set you can remove the cardboard tube and greaseproof paper. You will need to allow the chalk to dry fully for a few days before using.
 Hints and tips:


- If you feel your tube is too chunky, then cut it along the length, overlap the edges and tape them in place to reduce the diameter.
- Tin or silicon muffin pans also make great moulds and don’t need lining with paper.
- Once you have made your chalk, go outside and play all manner of games. You don’t even need to clean up – just wait for the next shower of rain to wash it away.


Photos and homemade chalk project from eco-friendly crafting with kids provided by Kate Lilley (author), Carolyn Barber (photographer) and Ryland Peters & Small (publisher).

Pingback: Wrap Up Youth Art Month With These 12 Creative Activity Ideas |